
To unlock REX in Risk of Rain 2, take the Fuel Array from the back of your starting Escape Pod, carry it to Abyssal Depths, and use it on the Broken Robot on the upper central platforms. This completes Power Plant. Keep your health above half while the Array is active: reaching its low-health trigger starts an explosion that destroys the equipment and usually kills its carrier.
REX is a base-game unlock. You do not need a DLC item or a special boss drop. In multiplayer, only the player who inserts the Fuel Array gets REX; a teammate completing the challenge does not automatically unlock the survivor for everyone.
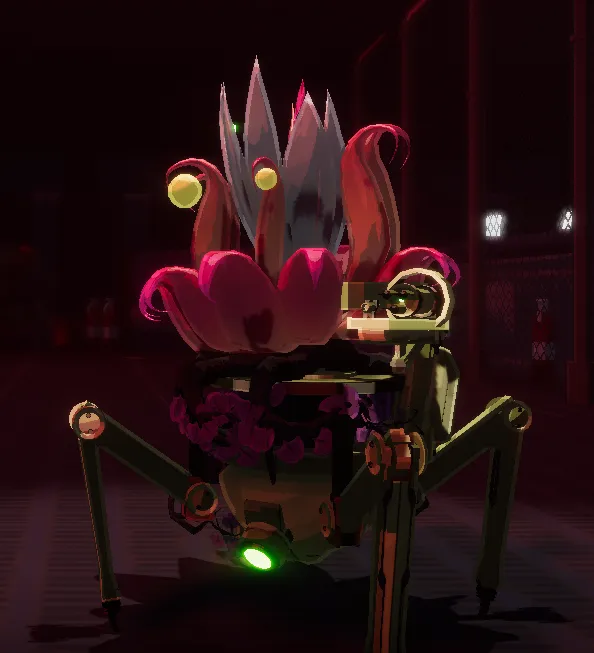
Power Plant requirements at a glance
| Requirement | What you need |
|---|---|
| Starting equipment | Fuel Array from an Escape Pod on the first stage |
| Destination | Abyssal Depths |
| Target | Broken Robot on an upper platform near the center |
| Delivery condition | Fuel Array intact and equipped when interacting |
| Main danger | The Array's low-health explosion |
| Multiplayer credit | The player who performs the repair |
The challenge is a delivery task. Defeating a boss, reaching Stage 4, or merely visiting Abyssal Depths is not enough. The final interaction checks that you still have the special equipment. Most failed attempts come from losing the Array, forgetting it after an equipment swap, or reaching a different fourth-stage environment.
Start with a survivor who has an Escape Pod
Before committing to the run, make sure your survivor arrives in an Escape Pod. Walk around to the back of the pod, open its hatch, and interact with the exposed Fuel Array. The equipment goes into your equipment slot.
Several survivors do not arrive in pods and cannot retrieve their own Array in a solo run:
- MUL-T
- Acrid
- Void Fiend
- False Son
- Acolyte
Choose a survivor with a normal pod for a straightforward solo attempt. There is no reason to start a long delivery run with a character who cannot obtain the package in the first place. The restriction concerns the starting pod, not whether those survivors can interact with the Broken Robot in multiplayer.
In a group, a podless survivor can obtain an Array from another player's pod. A teammate can also exchange an equipped Array for another piece of equipment to leave it on the ground for someone else. Decide who will perform the final repair before trading it away, because that interaction determines who receives the unlock.
The Fuel Array cannot be selected from Orange Command Essence. Artifact of Command can help organize the rest of a build, but it does not replace the need to visit an actual Escape Pod on the first stage.
Carry the Array without triggering its explosion
The Fuel Array is equipment, but it is not a normal active ability. Its dangerous effect triggers automatically around the half-health threshold. Once triggered, it has a three-second countdown before a large explosion. Keep a comfortable health margin rather than using exactly half health as a safe operating target.
The explosion destroys the Array even if you survive the damage. This is why a build that can block or endure the blast does not necessarily save the unlock attempt. You still need an intact Array for the robot, and a destroyed one is no longer available for delivery.
Its blast can damage other entities nearby, so avoid treating it as a harmless personal penalty in multiplayer. More importantly for Power Plant, do not deliberately activate the explosion to clear an encounter. That spends the exact object you are trying to transport.
Three situations deserve particular attention:
- Large single hits: attacks such as Stone Golem lasers can cross the threshold quickly.
- Fall damage: an ordinary traversal mistake can become an equipment-loss event.
- Shrines of Blood: their health cost can trigger the Array and should be avoided during a simple delivery run.
Barriers, damage blocks, armor, and invulnerability can change whether a player survives particular damage sequences. They are exceptions, not a universal guarantee that a Blood Shrine or an explosion is safe. For the unlock objective, preserving the Array is more useful than testing how much of its blast you can withstand.
Temporarily swap equipment before dangerous fights
You do not have to keep the Fuel Array active through every boss encounter. If another piece of equipment is available, exchange it for the Array before a dangerous Teleporter event. Fight with the other equipment, then return and pick up the Array before leaving the stage.
This reduces the time spent exposed to its penalty, but introduces a different failure point: forgetting the Array on the ground. Use a consistent checkpoint at the end of each stage. Before taking the exit, look at your equipment slot and confirm it contains the Fuel Array rather than the item you used for the fight.
A practical sequence is:
- Remember where the replacement equipment is lying.
- Swap out the Fuel Array before starting the dangerous encounter.
- Complete the boss fight and Teleporter charge.
- Return to the dropped Array and equip it again.
- Only then use the stage exit.
Do not confuse dropping the Array with donating it to an Equipment Drone. Once given to a drone, the Array cannot be recovered from the drone's death and is unusable for your repair objective. If you also want the separate drone interaction, leave it for another attempt; the Equipment Drone guide explains that branch.
Reach Abyssal Depths instead of another Stage 4
Abyssal Depths is the required environment, but reaching Stage 4 does not guarantee it. Your run may select a different environment from the fourth-stage pool. Check the stage name on arrival instead of searching every Stage 4 for the same robot.
One way to improve control is to visit the Bazaar Between Time after Stage 3. A Lunar Seer lets you select the next stage from two offered environments. If Abyssal Depths is among them, choose it. This is an option check, not a promise that the Bazaar will always offer the destination you need.
Plan access to the Bazaar before leaving Stage 3. The Newt Altar locations guide can help with that part of the route. Retain the Fuel Array while arranging the detour; entering the correct next stage without it still leaves the repair incomplete.
If you have Alloyed Collective enabled, Repurposed Crater is another possible Stage 4. Disabling that expansion before starting a dedicated REX attempt removes that environment from the pool. That can improve the odds of Abyssal Depths, but it does not make Abyssal Depths the only possible result. You are adjusting the pool, not forcing a guaranteed destination.
If the first fourth stage is wrong, you can continue the run and loop for another chance. Keep the Array intact if you choose that route. The tradeoff is simply more time carrying the risky equipment; a player whose only objective is REX may prefer a fresh attempt, while a successful ongoing run may be worth continuing.
Find and repair the Broken Robot
In Abyssal Depths, look upward toward the central platforms. The Broken Robot is above the lower ground level, so a search limited to the floor around the Teleporter can miss it. Use the stage's upward routes to reach the high platforms and inspect the robot closely.
Keep the Array equipped during the final approach. If you temporarily swapped equipment for the stage's fighting, retrieve it before going to the robot. Interacting with the robot while carrying the correct equipment consumes the Array, completes Power Plant, and unlocks REX.
The repair is the finish line. You do not need to turn the Fuel Array into a different item, activate it manually, or carry it to a later boss. Once the challenge completes, the disappearance of the Array is expected: it has been used for the repair.
Afterward, the REX build guide covers playing the survivor. Keep the delivery challenge separate from REX's own health-costing combat decisions; the hazardous equipment belongs to the unlock route, not to the character's permanent loadout.
Multiplayer and MUL-T's safer carrying method
MUL-T is an exception worth understanding. It cannot obtain an Array from its own solo starting pod, but in multiplayer it can take one from another player's pod. Retool then allows MUL-T to store it in the inactive equipment slot, where the Array's dangerous effect does not apply.
The protection depends on which slot is active. Switching back to an Array while below half health can start its countdown. Leave it inactive during dangerous combat, recover health before making it active, and equip it for the final robot interaction. Having two equipment slots is useful only if you manage the active slot deliberately.
Functional Coupler can similarly provide an inactive equipment slot, but it is not required for Power Plant. A normal pod survivor, careful equipment swaps, and a route to Abyssal Depths are enough. Do not turn obtaining an optional boss item into an extra prerequisite for a base-game rescue.
Multiple players can repair the robot in the same session with their own individual Fuel Arrays. That is different from one player repairing it on behalf of the entire party. If several people need REX, plan for each person to bring and insert an Array rather than assuming the first completion shares credit.
Diagnose an unsuccessful attempt
| Problem | Likely missing condition or next check |
|---|---|
| No pod at the start | The selected survivor may not use one; choose a pod survivor or use a teammate's pod |
| Command does not offer the Array | Retrieve it from the Escape Pod; it is not an Orange Command selection |
| You survived an explosion but cannot repair REX | The blast destroys the Array regardless of survival |
| You reached Stage 4 but cannot find the robot | Confirm the environment is Abyssal Depths |
| Robot interaction does not complete Power Plant | Check that the Fuel Array is currently equipped |
| A teammate unlocked REX but you did not | Each recipient must perform their own repair |
| The Array was given to a drone | It cannot be recovered for this delivery |
Record the completed challenge in the survivor unlock planner. For another transport-style objective, the Drifter unlock uses two different keys and shares its final multiplayer completion; do not apply those rules to Power Plant.