
The standard Risk of Rain 2 Mithrix boss fight has four phases: the first hammer duel, a Lunar Chimera interlude, an empowered return, and the final item-theft phase. Keep a usable movement route, recognize the hammer and shockwave openings, and recover your inventory by damaging Mithrix after the theft. The run is not won when the boss dies: you still need to reach and charge the escape ship before the moon's detonation timer ends.
This walkthrough concerns the ordinary confrontation. The October 2026 update introduced optional Karma that can make the Moon confrontation substantially harder. Do not assume a high-Karma attempt is identical to the standard fight described here, and do not add that optional challenge while you are still learning the regular phase transitions.
Reach Commencement instead of taking another loop
Use the stage-five Primordial Teleporter route toward the Moon rather than continuing a loop. Sky Meadow and Helminth Hatchery are the relevant stage-five environments in the supplied route descriptions. Before leaving, finish the useful preparation you need for the boss and check that the departure you selected serves the Moon route.
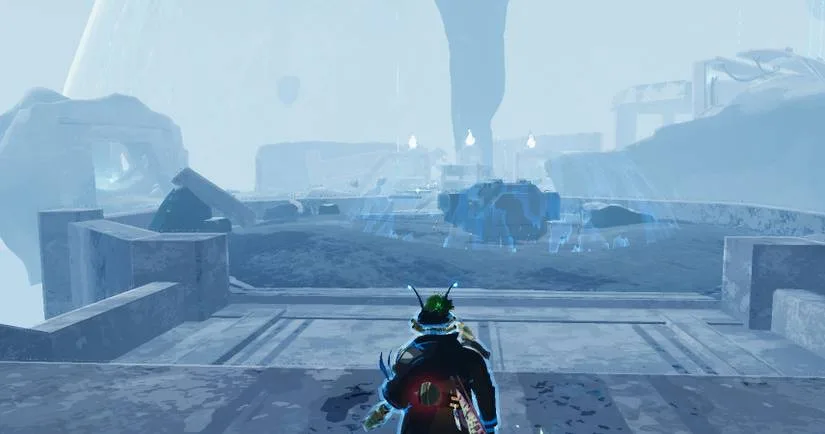
On Commencement, the ordinary approach is to charge four pillars, then use a launching platform to reach the arena. Pillar types have different conditions: Mass asks you to hold an area, Design uses disruptive waves, Soul reduces the available zone, and Blood trades health during the charge. Identify which condition you are stepping into before standing in the zone automatically.
Some movement skills and equipment can reach the arena without the pillar route. Treat a skip as an optional technique you have practiced, not as a requirement for a successful run. A failed improvisation can cost more time or health than the ordinary path. If your inventory lacks the movement needed for a reliable skip, use the pillars and preserve the escape plan.
In cooperative play, gather the team for the arena entry. The barrier and arrival sequence are part of starting the fight; one player reaching the top alone does not mean every teammate is ready. Check the group before committing to the encounter.
Prepare for movement and an inventory change
Bring a build that can damage an important single target, but do not ignore movement. Hopoo Feather offers another jump, and Wax Quail changes the sprinting jump route. These can help you navigate attack patterns, though neither makes you safe if you jump into a different attack or land without looking.
Armor-Piercing Rounds is a straightforward boss-damage item. A slow effect such as Chronobauble can also be useful when the enemy's movement is part of the danger. Evaluate these effects alongside your survivor's own attacks rather than replacing the whole inventory for a single supposed boss solution.
Equipment remains useful when the final phase takes much of your passive inventory. A single-target option such as Royal Capacitor can provide damage when your normal firing rhythm suddenly feels weaker. Pick an equipment you know how to use from a safe position; a powerful effect that requires an unsafe interaction does not automatically solve the theft phase.
Do not make a risky Lunar item mandatory for the first clear. Shaped Glass can create strong damage but reduces your health, making mistakes more expensive. Learn the attack patterns with a practical inventory before attempting a fragile route whose success depends on never being hit.
Phase one: watch the hammer and leave its line
Mithrix enters the arena and closes distance with his hammer. Expect a forward-moving swing, a committed slam, a leap that produces a ground shockwave, and ranged needles. The answer is to identify the attack and move in the direction that avoids it, rather than running in one circle without looking at the boss.
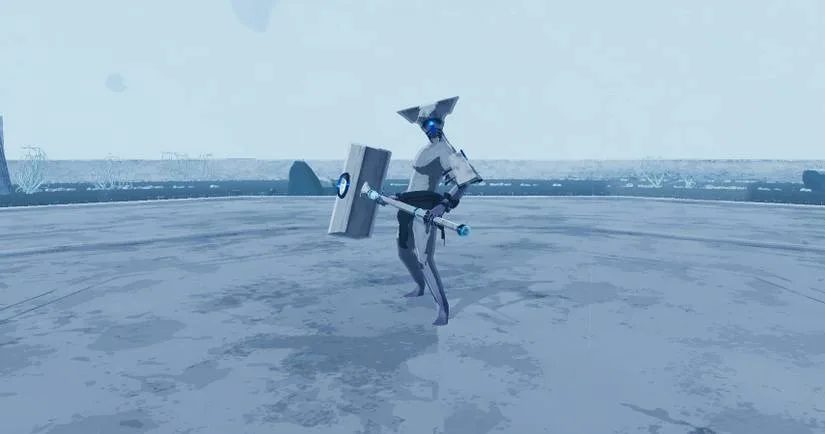
For the forward swipe, create distance or move above the attack when your survivor's options permit it. For the slam, leave the area in front of the hammer. The animation provides a decision point: do not remain close to the impact just because you want one more primary hit.
When Mithrix leaps and returns to the arena, watch for the outward shockwave and time a jump across it. Jumping too early can put you back on the ground as the wave arrives. Keep the boss visible long enough to read the landing instead of staring only at the health bar.
For the needle attack, lateral movement is useful. Running directly toward or away from the projectile line does not create the same separation as moving across it. Leave yourself room to strafe, and avoid retreating into an arena edge that removes your next movement option.
Hits can apply a slowing and vulnerability effect, making a follow-up attack more dangerous. If an attack catches you, prioritize regaining a safe route rather than trying to recover the lost damage immediately through another close-range trade. The dangerous sequence is often the second hit arriving while movement is impaired.
Phase two: clear the Lunar Chimeras deliberately
After the first phase, Mithrix withdraws and Lunar Chimeras take over. Pillars rise in the arena and provide cover. Use them to interrupt a dangerous projectile line or create a short recovery window, while still tracking which enemies can approach from another direction.
Lunar Chimera Wisps are a high-priority threat because of their rapid-fire attacks and tracking explosive attack. Remove a dangerous Wisp when you can reach it safely, rather than spending the entire phase slowly damaging a less urgent target while the Wisp attacks without interruption.
Golems fire slower projectile patterns that can be sidestepped, but their hits still hurt. Track the direction the projectiles travel while working on another enemy. An attack being slower does not make it irrelevant when several directions overlap.
Exploders deserve space after they die. Their death creates a dangerous area, so finishing one is not permission to move straight onto the body. Keep an escape route away from its position and use the newly opened space only after the hazard is no longer threatening you.
The phase advances when the relevant enemies are cleared. Do not treat it as a harmless pause while waiting for Mithrix to return. Use the time to reduce the arena's threats, recover where possible, and reposition for the next duel.
Phase three: read the rotating pattern before committing
Mithrix returns with the familiar attacks and an empowered pattern. Other Lunar Chimeras can also appear, so you are managing the boss and additional threats at the same time. Decide which enemy is making your next action unsafe and address that threat when practical.
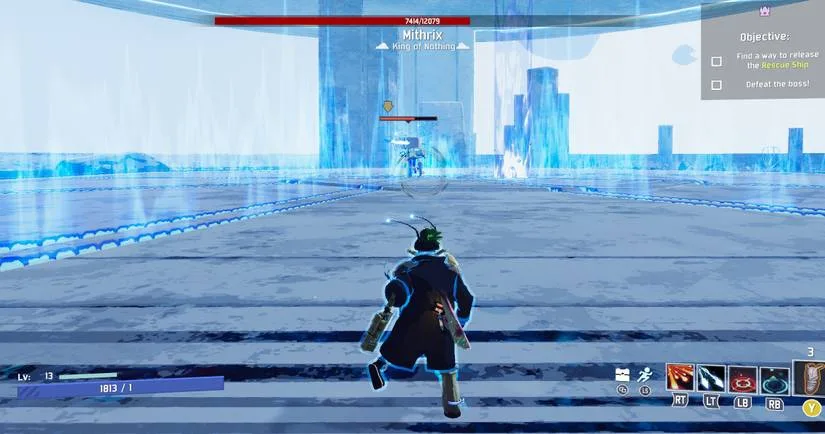
The enhanced slam produces another ground-wave threat and leaves a lingering damaging area at impact. Avoid the immediate hammer hit, then avoid walking back into the location just because the animation ended. A completed attack can leave terrain that remains unsafe.
The rotating energy pattern is the signature new danger in this phase. Watch the direction and positions of the lines, then move laterally into a safe gap as they resolve. Do not assume an ordinary jump over a ground shockwave also clears these taller energy hazards. They are different attacks with different movement answers.
Keep the pattern visible rather than trying to finish a long attack while the safe space changes. If a charged special would leave you committed through the dangerous resolution, delay it or move first. Surviving the pattern creates another damage window; ending the run halfway through a theoretical burst does not.
Additional Chimeras can complicate the safe gap. A dangerous Wisp or an Exploder on your planned route may justify a brief target change. Conversely, chasing every minor enemy to the edge can make you lose track of Mithrix. Balance the immediate route problem with the primary objective instead of following an unconditional rule to ignore or kill every add.
Phase four: recover items without abandoning cover
The item-theft transition sharply changes how strong your survivor feels. Mithrix takes passive items during the sequence, while you retain usable equipment and certain excluded effects. Damage to him progressively returns the inventory. This is the moment to use the fallback plan you prepared, not to panic because your movement and attacks are suddenly weaker.
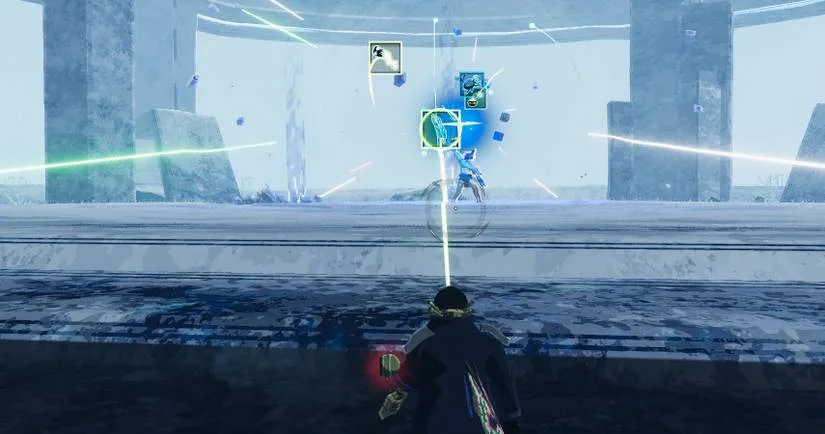
Mithrix is wounded and slower, but stolen item effects can make his attacks dangerous. Respect the needle volleys and use the arena pillars as cover when appropriate. A slower enemy can still end the attempt if you stand exposed and try to retrieve everything through one uninterrupted damage exchange.
Begin with attacks you can land safely from the reduced inventory state. Use equipment when it provides a useful opening. As items return, reassess your movement and damage rather than assuming the very first successful hit restores the entire build. The recovery is progressive.
Watch the outward and returning orb pattern too. Space that was clear when the orbs moved away may become occupied when they return. Choose lateral movement and cover with both directions in mind, rather than immediately chasing the boss through the former path.
Do not base a first clear on skipping the theft through a precisely timed transition exploit. The normal phase is survivable when you preserve room to move and have a workable damage source. Learning that sequence gives you a repeatable answer across runs whose item timing differs.
Finish the escape before celebrating the kill
Defeating Mithrix starts a three-minute detonation sequence. Use an arena portal to return to ground level and head to the landing ship near the original entry area. Move toward the actual ship objective rather than spending the remaining time inspecting loot or exploring an optional route.
The ship must charge while you remain inside its radius. Reaching it is only the first part of the escape. Read the progress and keep defending the area until the departure completes. Briefly leaving the zone to avoid an otherwise lethal attack can be necessary, but return when safe so the objective continues.
Void Reavers appear during the escape. Their attacks mark dangerous areas, and their death explosions can instantly kill you if you remain too close. A successful kill therefore creates a new movement task: leave the death zone before the explosion instead of standing on the body while watching the ship bar.
Keep enough attention on the terrain to avoid running into another enemy's hazard during that retreat. The escape combines a charging objective with a requirement to keep moving, so distinguish the area you need to occupy from a particular point you must never leave.
Once the ship is fully charged, the escape sequence leads to the victory screen. Defeating Mithrix and escaping completes Washed Away and unlocks Captain. The essential completion state is the successful departure, rather than a screenshot of the boss's empty health bar. Carry the same route awareness through the last minute that you used during the hammer fight.