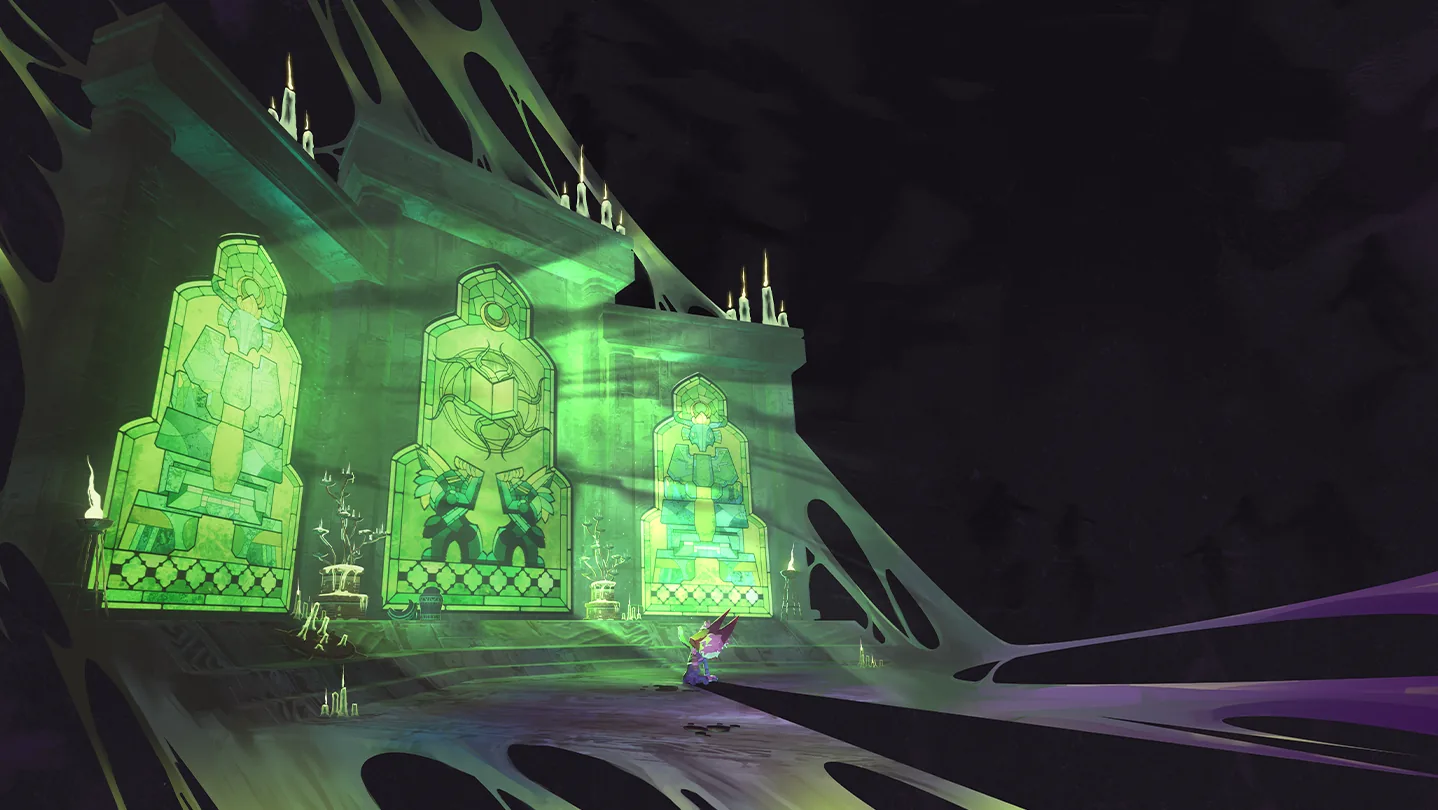
Soulbound Threshold is the Hallowed Concepts hidden realm reached through the Ritual Portal after a Shrine of Descent Soul-binding trial. Its main task is to clear four ritual challenges, defeat both phases of the Anima Harvester, and interact with the altar again to complete the ritual. A boss kill and a completed ritual are separate steps.
Before leaving, decide whether you want to revive the Fallen Acolyte, use the improved Hallowed Shrine, return to ordinary stages, or open the route to Terminal Lucidity. These outcomes use different interactions. Walking straight through the first available exit can skip the action you came to complete.
Prepare the route before charging the Teleporter
In solo play, the standard approach requires the N'tormat and at least one Page. Cooperative teams need four total Pages for two players, nine for three, or sixteen for four. Consumed Pages still count; Shredded Pages do not. Acquire them through Hallowed Concepts content such as a Wake or Trial, then enter a new stage so the Shrine of Descent can be placed at stage start. Activate it before starting that stage's Teleporter.
The modified Teleporter event leads to a Ritual Portal. Use that portal to enter Soulbound Threshold. After the Soul-binding trial, the Teleporter normally becomes non-interactable; Conduit Canyon is the exception. Other portals may provide exits, but they do not replace the Ritual Portal's destination. Do not confuse the Ritual Portal that enters the realm with the Mortal Portal that later returns you to ordinary stages.
A run can only have one major catastrophe, so the Shrine of Descent route is available at most once per run. That limit makes the completion steps worth checking before you leave: assuming you can simply repeat the entire route later in the same run can be a costly mistake.
An alternative entry exists through Reincarnation in Neural Sanctum's sacrifice zone. That zone has a 15-meter radius and requires a N'tormat holder to stand in the ritual circle. It also depends on Alloyed Collective content being available. Completing the Soulbound Threshold ritual closes this Neural Sanctum route for the rest of the run.
Start the ritual at the Altar of N'kuhana
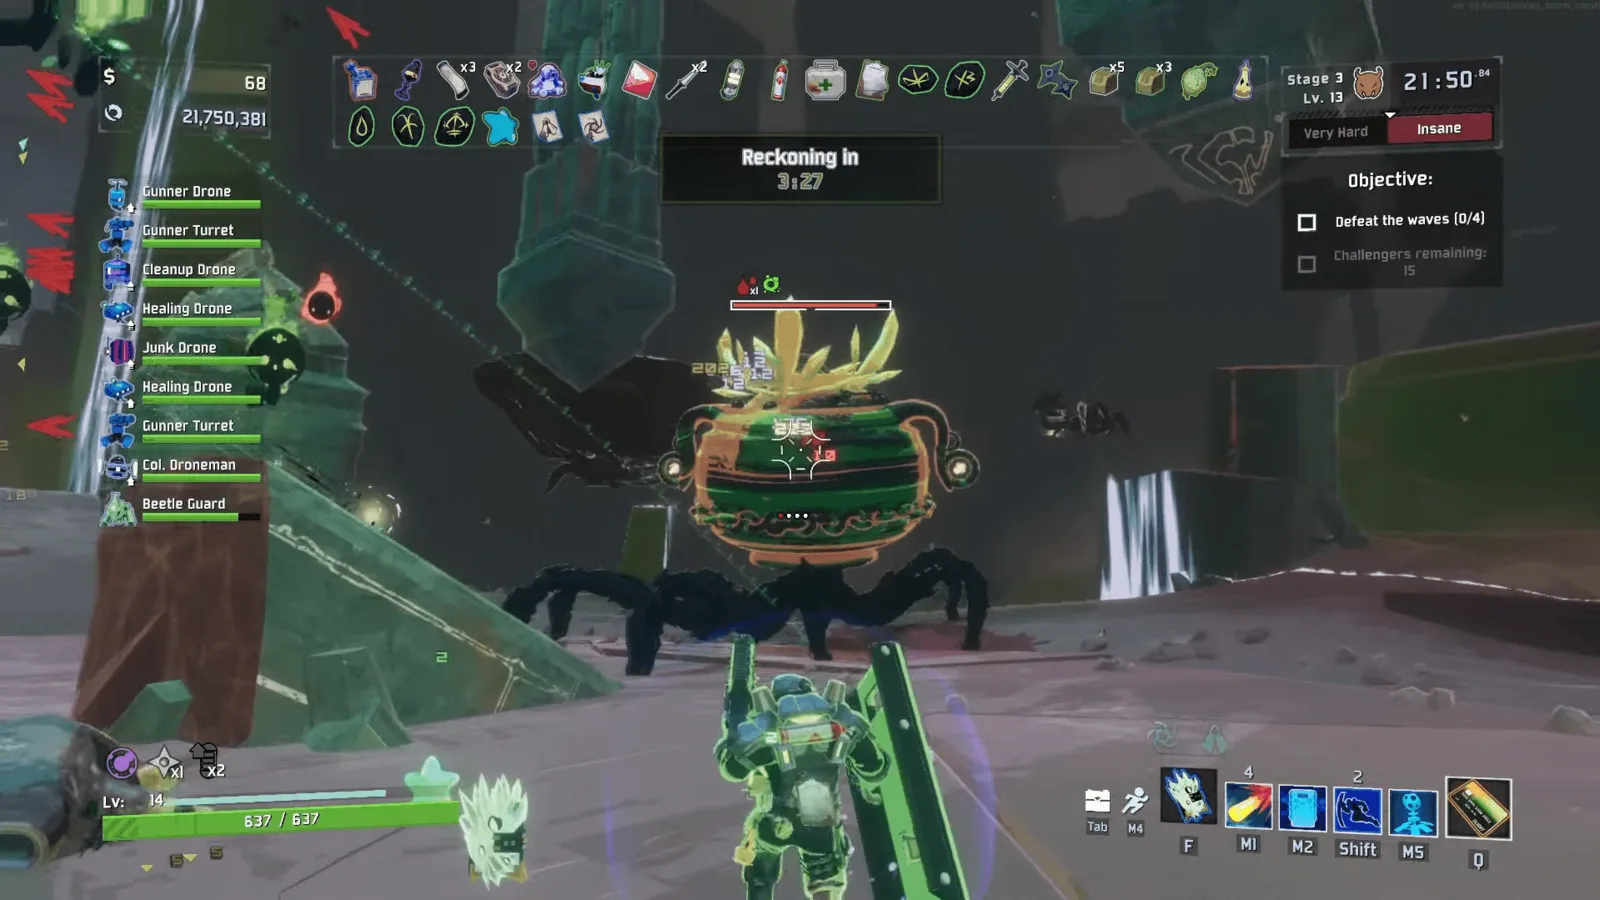
Inside the realm, head toward the central altar and use the interaction labeled Begin the ritual. The area is built around that altar, so it is the meaningful starting point rather than an ordinary Teleporter.
The ritual is timed, so watch its countdown together with the active objective. Move toward required targets rather than spending the window on unrelated actions. Expect a sequence of challenges followed by a boss. Each arena selects from its own encounter pool, avoiding repeats where possible and excluding encounters that require disabled expansions. Consequently, one run's exact monster sequence is not a guaranteed script for your next attempt.
Read the active objective and keep track of remaining enemies. If progression stops, search the surrounding platforms for required targets before repeatedly interacting with the altar. The challenge cannot advance simply because the enemies directly in front of you have been killed.
Do not spend every repositioning or recovery option on the first group. Four challenges precede the Harvester, and the boss itself has two phases. A setup that clears the opening group but cannot recover afterward has not completed the realm's main combat requirement.
Recognize encounter groups without expecting a fixed order
The encounter pool mixes bosses, elites, ordinary monsters, and sometimes enemies that begin as statues. Several examples illustrate why you should reassess each wave rather than reuse the same positioning without looking at the new group.
| Encounter | Representative contents | What to notice when it begins |
|---|---|---|
| Exploding Jellies | Two Stygian Wandering Vagrants and 20 Jellyfish | Both boss targets and a large number of smaller enemies are present |
| Artillery | Blazing and Glacial Stone Titans, Hermit Crabs, Brass Contraptions, and Mini Mushrums | Required targets are distributed across several monster types |
| Wisp Hell | Stygian Clay Dunestrider, Grovetender, Lesser and Greater Wisps, and Hermit Crabs | Ground and airborne enemies can remain after the first targets fall |
| Floaty Friends | Overloading Wandering Vagrant, Solus Control Unit, and supporting enemies | Several important enemies occupy different parts of the fight |
| Reaper Fan Club | Lynx Totem, Imp Overlord, and groups of Lynx enemies | The encounter combines large targets with several supporting groups |
| Collectors | Scavenger, Solus Control Unit, and Solus and Alloy enemies | Clearing one boss does not clear the whole required group |
These are examples from the pool, not a promise that every attempt contains them. Expansion settings affect which groups can be selected.
Some groups also contain enemies with items. Nuisances includes Glacial Blind Vermin and Beetles carrying Dio's Best Friend, while Imp Lords: Hard Light gives additional skill-charge items to certain enemies. Those details make an apparent defeat or familiar enemy pattern less reliable as a signal that the challenge is over.
Focus on the objective's actual completion rather than the visual impression that the arena has become quieter. When a remaining enemy is hidden by terrain or has returned after a death-prevention effect, searching for it is more useful than waiting for an automatic transition.
Defeat the Harvester's first phase
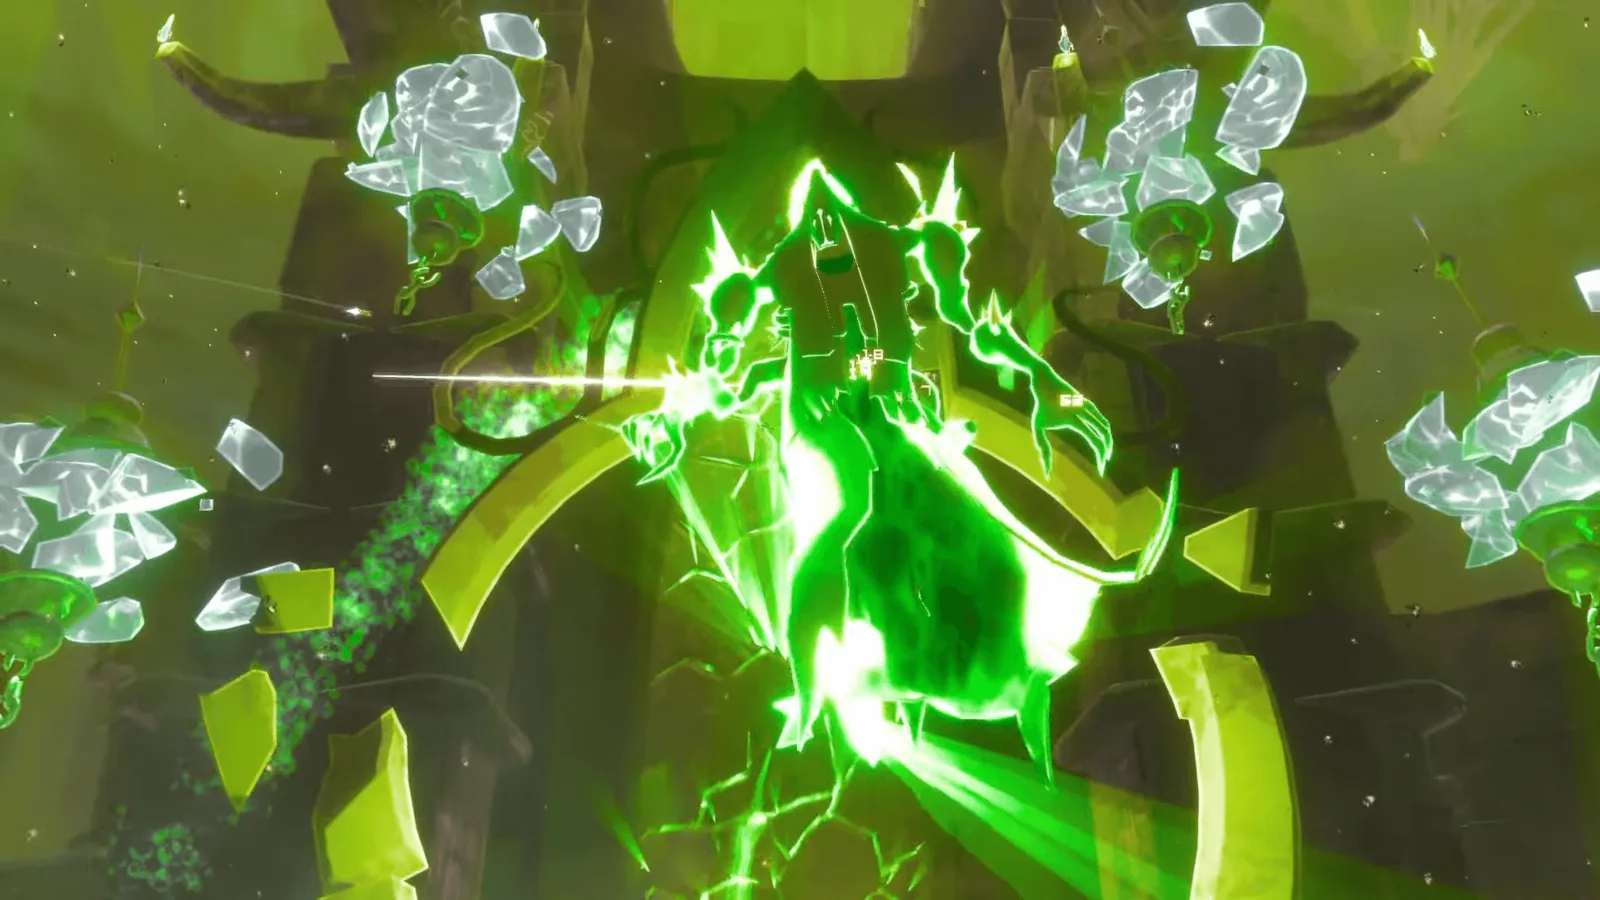
Five seconds after the fourth challenge ends, a cutscene introduces the Anima Harvester. Players are immune to damage for ten seconds while the introduction plays. Use the transition to locate the boss and understand where the next fight begins rather than assuming the combat sequence has ended.
During the first phase, the ritual orb keeps at least two champion monsters alive in the arena. The Harvester's soul-lock can heal it for 10% of maximum health. You are therefore facing a boss with supporting combat pressure and a recovery mechanic, not an isolated health bar with no other threats.
Maintain awareness of the arena around the boss. A damage-focused approach that ignores every supporting monster can leave you without a safe route to reposition. Conversely, eliminating small enemies indefinitely without progressing the boss does not finish the phase.
When the first phase dies, the other monsters die with it. The second phase arrives ten seconds later. This brief break is a phase transition, so do not head for a reward interaction or assume a visible boss death completed the ritual.
Adjust to the three Hexes in phase two
When the second phase appears, every player receives three random Hexes. The pool for these grants includes Blindness, Famine, Acceleration, Leaping, and Pain, with Pain substantially less likely than each of the other listed choices.
Those penalties can alter the way your existing build behaves. Blindness limits vision; Famine reduces healing; Acceleration makes movement slippery by reducing acceleration; Leaping weakens repeated jumps; and Pain reduces maximum health.
Check which effects you received before repeating the movement or recovery pattern you used in phase one. A healing reduction and a movement penalty call for different adjustments. The presence of three Hexes does not guarantee that every player experiences the same combination.
Killing the second phase clears the remaining monsters. If Karma is enabled, the kill raises Karma by one. That consequence belongs to the run's optional Karma setting and should not be confused with the ritual-completion interaction that follows.
Finish the ritual with Beseech the orb
After the boss is dead, return to the altar. Its prompt changes to Beseech the orb. Using it completes the ritual and produces the post-combat options.
| Result of the altar interaction | Practical meaning |
|---|---|
| Improved Hallowed Shrine appears | You can exchange eligible permanent Hexes for stronger-grade item choices |
| Mortal Portal opens | The team can continue to the next ordinary stage |
| Door sacrifice zone becomes active | Reincarnation can open the Veil of Memory route |
| Catastrophes end for the run | Later Teleporter events no longer produce lesser catastrophes |
The objective normally tells you to Return to the Mortal Plane. With a complete N'tormat, it adds an indication that another option exists. Read the prompt, but still check the individual interactions before committing to an exit.
The improved shrine can cleanse the three Hexes gained during the fight. Three eligible Hexes unlock one Medium pick and one High pick. At five or more, you can take one Medium and two High picks. Hand of Life can be reused, while choosing Hand of Death closes the shrine for everyone.
Revive the Fallen Acolyte before you leave
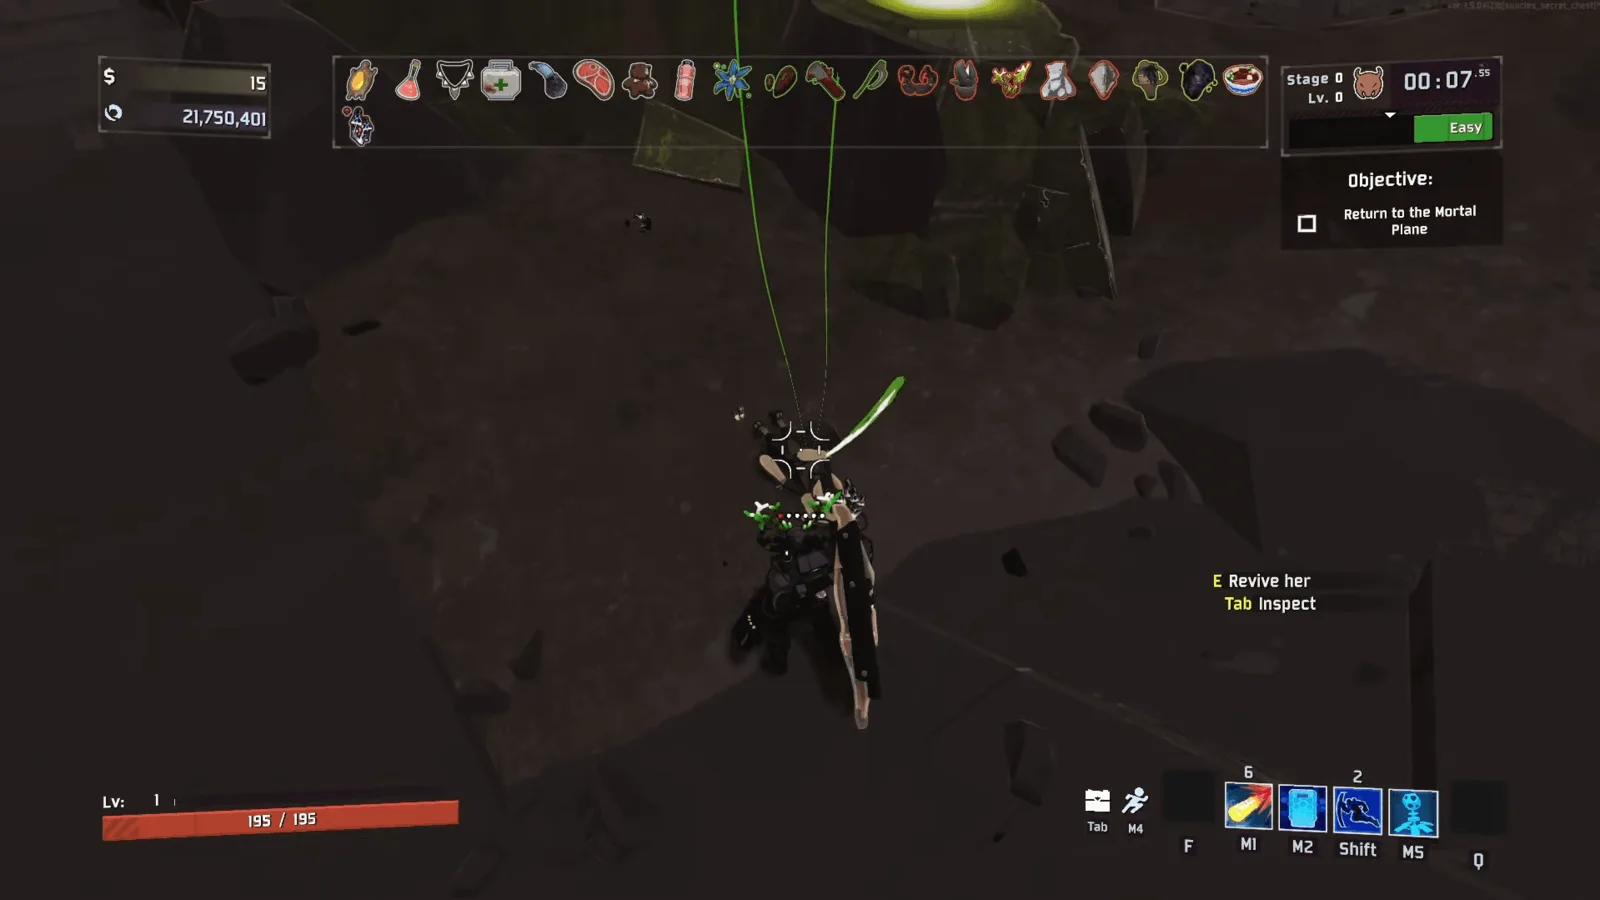
A Fallen Acolyte appears where the Harvester fell after phase two. Interacting with her opens a menu of permanent items. Eligible choices are tagged as Healing or Food-related, and the revival consumes one copy of the chosen item.
Medkit is one qualifying example. Carrying a suitable item through the fight is more reliable than assuming that any defensive item will be accepted afterward. An item that has already been consumed is no longer available to offer.
Reviving her completes A Broken Ritual and unlocks Acolyte for lobby members who own Hallowed Concepts. The Harvester kill alone does not perform the revival, and players without the expansion do not receive selectable access to the new survivor merely because they participated in the encounter.
Choose the exit that matches your objective
The Mortal Portal returns you to the next stage. The Veil of Memory leads to Terminal Lucidity and the Echo of Providence encounter. Opening the Veil requires casting Reincarnation in the 18-meter sacrifice zone at the realm's door after the ritual is completed.
This specific zone does not kill anyone and does not require a N'tormat holder to stand in the circle. It becomes active after every completed ritual, even without a complete N'tormat. Do not generalize those exceptions to Reincarnation zones on other stages.
The realm also has sacrifice endings tied to the pit. If every player dies and the last death is a fall into the pit, defeating the Harvester's second phase beforehand produces Cherished in N'Kuhana's Embrace, which counts as a win. Without that boss defeat, the ending is All for Nothing and counts as a loss. Neither ending triggers on Eclipse.
For Dying to Meet You skin challenges, the decisive condition is killing phase two while fewer than four Teleporters have been charged in the run. Completing the fight late can still give ritual rewards, but it does not satisfy that early-route skin condition.