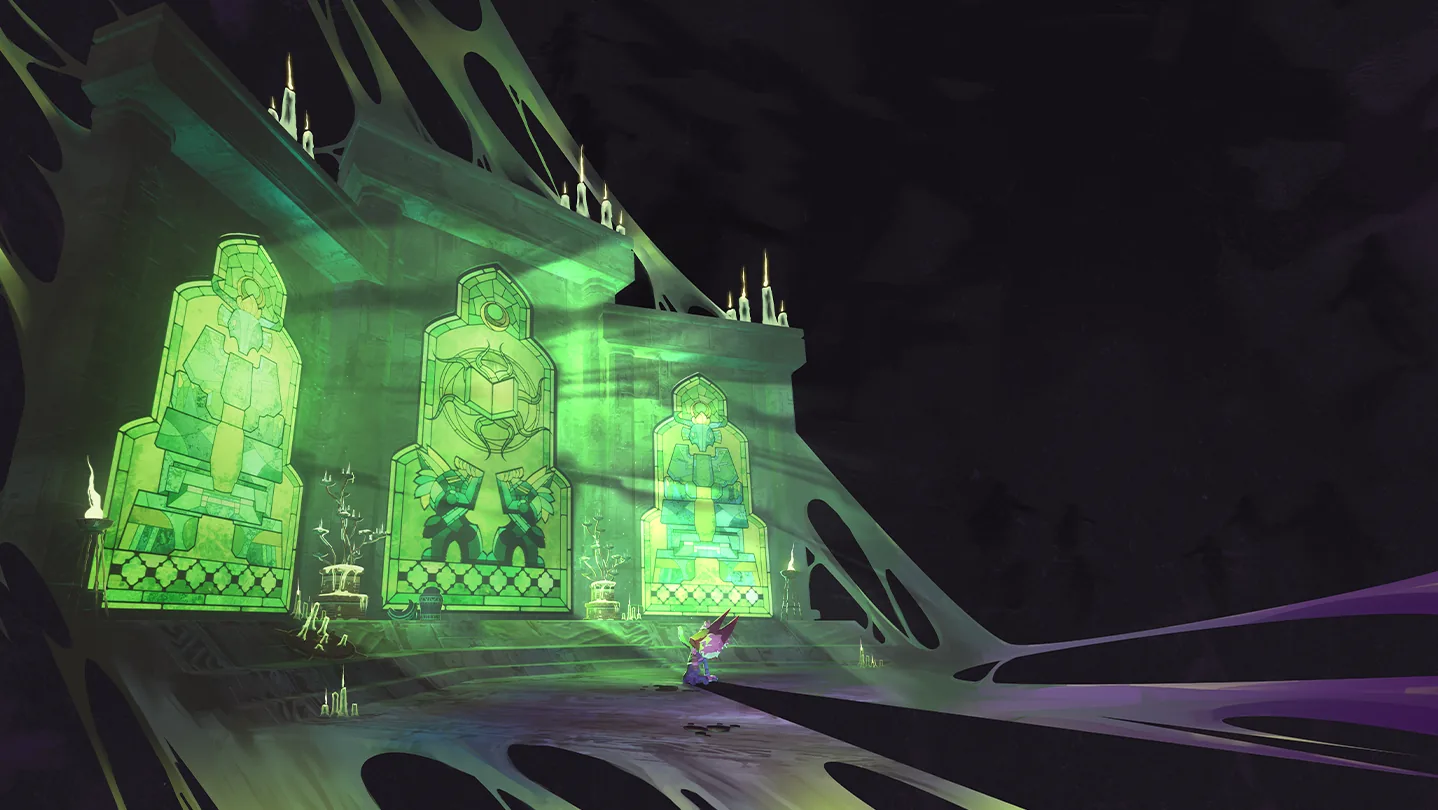
A Hallowed Shrine offers an exclusive choice after a Teleporter event: Embrace Life removes eligible permanent Hexes and converts them into item choices, while Embrace Death drops more Hexes for the team. Using either hand closes the other. If you want immediate relief or rewards, choose Life; if you want to accumulate Hexes for a later exchange or a challenge, choose Death and accept the added penalties.
The shrine belongs to Hallowed Concepts. It is different from the Shrine of Descent, which starts a Soul-binding trial before a Teleporter event. A Hallowed Shrine appears after the Teleporter finishes charging, once its run conditions have been met. Looking for it before the event ends can therefore lead you to the wrong interactable.
Find the shrine after the Teleporter finishes
The shrine spawns between 8.5 and 40 meters from the Teleporter when it finishes charging, provided at least one qualifying condition is satisfied:
- A player holds a permanent Hex that can be removed.
- The team owns at least one N'tormat Page; consumed Pages still count.
- One of those conditions was satisfied earlier in the run.
The third condition matters. Once the run has qualified, later Teleporter events continue producing a Hallowed Shrine even when nobody currently has a Hex. The game remembers the earlier condition instead of requiring you to maintain a Hex forever.
Only one shrine can spawn on a stage. It is not restricted to a particular game mode. Search around the completed Teleporter rather than treating the absence of a shrine at one exact position as proof that the system is unavailable.
If you have not qualified, completing the Teleporter alone is insufficient. Review whether the team acquired an eligible permanent Hex or a Page, rather than repeatedly searching a stage that never met the spawning condition.
Choose a hand before anyone activates it
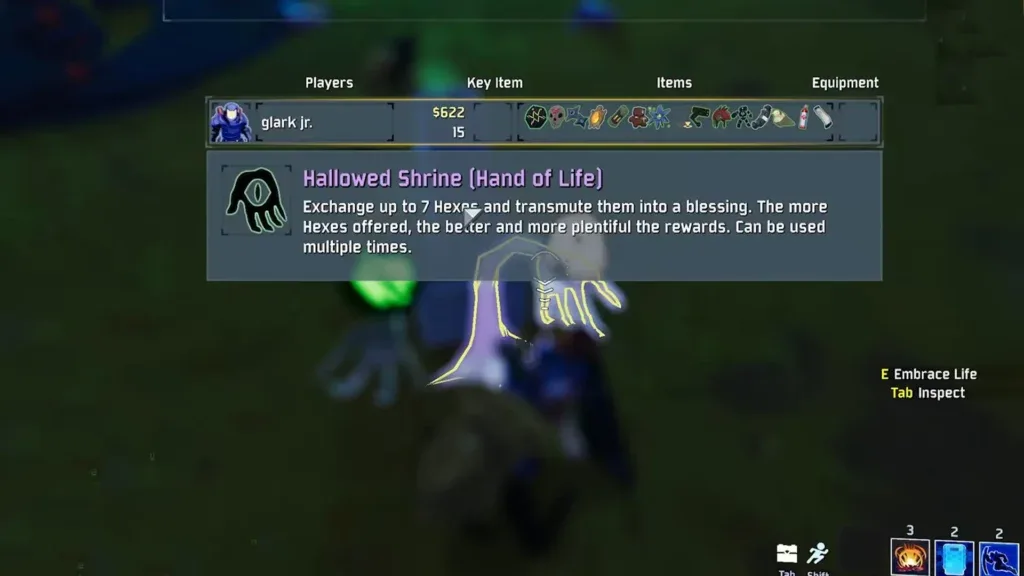
The two hands do not provide two purchases from the same shrine. They offer different directions for the team's Hex economy, and the first choice removes the other option.
| Choice | Immediate result | What becomes unavailable |
|---|---|---|
| Hand of Life | Drains eligible Hexes from the activating player and creates item rewards | Hand of Death closes permanently |
| Hand of Death | Drops additional Hexes shared by the team | Hand of Life closes, followed by the shrine after the drops finish |
In cooperative play, agree on the goal before interacting. One player wanting to remove a dangerous penalty and another wanting to collect more Hexes cannot independently choose opposite hands afterward.
Life can reopen for further use after a reward has been created. That allows another player to cleanse Hexes, or the original player to exchange a remaining reserve. Death is a single use and does not reopen for another three Hexes whenever a player approaches it.
What Embrace Life actually removes
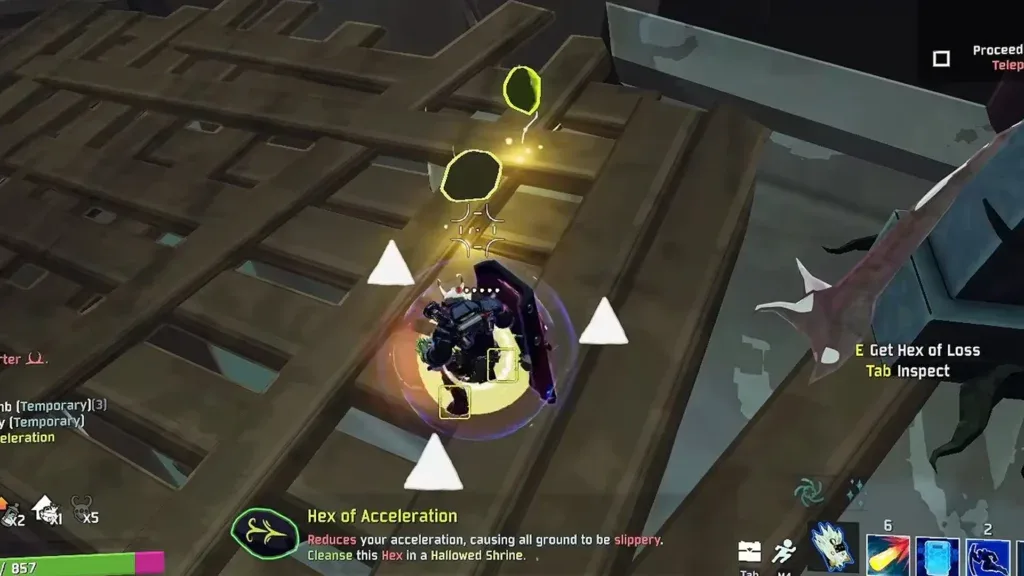
Hand of Life requires at least one eligible permanent Hex. Temporary Hexes, rented Hexes, and Hexes currently disabled by Hex of Loss do not qualify. A visible Hex-related effect is therefore not enough to guarantee that the hand is usable.
The shrine removes Hexes one at a time, stopping when it has drained seven or you run out. You cannot choose a smaller payment. If you carry seven eligible Hexes and only want to spend two, activating Life does not provide a payment slider.
The first Hex is removed immediately. Subsequent removals are random and weighted by stack count, so larger stacks tend to be removed first. That is not a guarantee that the specific penalty you dislike most will disappear before the others.
The draining animation accelerates, with intervals starting at half a second and approaching a tenth of a second. Once draining finishes, a Hallowed Potential appears after 1.5 seconds. Wait for the resulting choice rather than interpreting the lack of an immediate item at the first removal as a failed interaction.
If you have more than seven eligible Hexes, some remain after the first exchange. Life reopens, so you can choose whether to make another exchange. The seven-Hex limit applies to each activation, not to the total number one player can cleanse across repeated uses.
Read the regular shrine's reward thresholds
A Hallowed Potential contains nine options arranged in three groups. You can take at most one option from each group. How many choices are selectable depends on how many Hexes the shrine just removed.
| Hexes drained | Selectable options | Items you can take |
|---|---|---|
| 1 | Three Low options | One |
| 2 | Three Low and one Medium | Two |
| 3 | Three Low and two Medium | Two |
| 4 | Three Low and three Medium | Two |
| 5 | Three Low, three Medium, and one High | Three |
| 6 | Three Low, three Medium, and two High | Three |
| 7 | Three Low, three Medium, two High, and one Max | Three |
The progression is not one item per Hex. Three and four Hexes still produce two picks, while five unlocks the third group and raises the total to three picks.
The potential can show locked options. Seeing a Legendary-looking option does not mean that the number of Hexes you paid made it selectable. Read which group and grade are unlocked before deciding what the exchange gave you.
Chosen items go directly to the player. This differs from a shared pile of equipment on the floor and matters when several players are deciding whose Hexes should fund an exchange.
Hallowed items are not guaranteed by the name
| Grade | Number of options in that grade | Possible reward types |
|---|---|---|
| Low | Three | Common or Hallowed items |
| Medium | Three | Uncommon or Hallowed items |
| High | Two | Hallowed items or N'tormat Pages |
| Max | One | Legendary or Boss items |
Low and Medium options can be Hallowed items, but they usually come from the ordinary Common or Uncommon pool. Descriptions that refer to revealing a Hallowed item should not be read as a promise that every one-Hex cleanse gives one.
For the regular shrine, reaching five drained Hexes unlocks the first High option. That is the useful threshold if your goal is a choice that is very likely to be Hallowed. Four or fewer only unlock Low and Medium choices.
Seven Hexes add the Max option, but that does not let you take both a High item and the Max item. The two High options and the one Max option occupy the same third group. Your final pick is a choice among that group's available results.
Options are rolled separately. Different options in the same grade are different items, while the same item can appear in different grades. Evaluate the actual results instead of assuming that every slot must belong to a completely separate item pool.
Embrace Death adds a flat amount
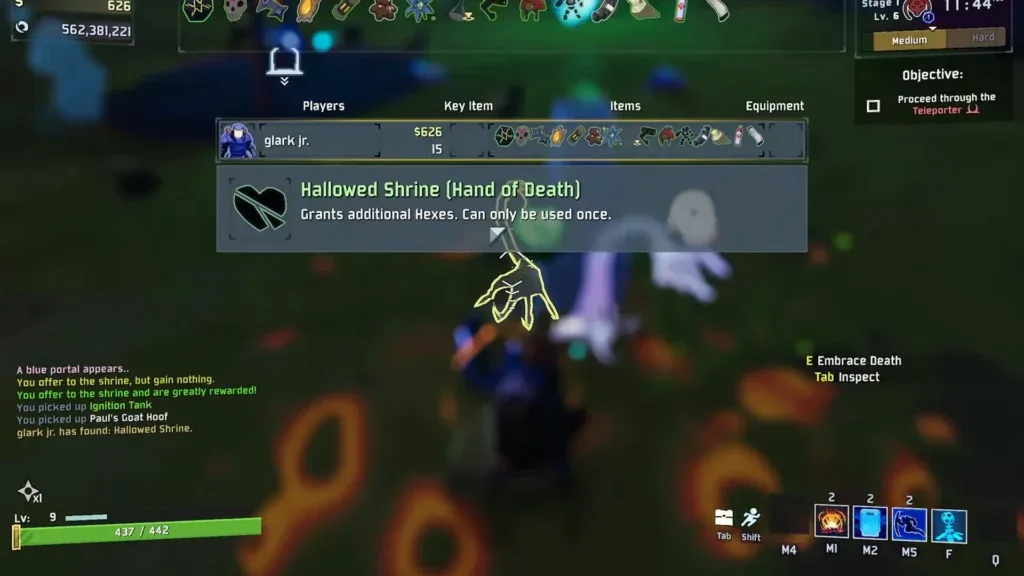
Hand of Death has no payment or prerequisite of its own. It drops three Hexes per player in the run, selected randomly from the 14 Hex types with equal odds. The drops are shared, so players can distribute them rather than expecting each bundle to be reserved for its original player.
This is a flat grant. It does not double your existing Hex count. A player holding one Hex and a player holding seven do not cause their own inventories to be multiplied by choosing Death.
The first drop arrives after 0.6 seconds, with later intervals becoming shorter. Wait for the sequence to finish and decide who should pick up the penalties. In multiplayer, collecting every shared drop on one survivor can concentrate both the future exchange value and the current risk.
Eulogy Zero can replace these drops with Lunar items. If you are using it, do not treat the expected Hex count as certain when planning a later cleanse or a Hex-holding challenge.
Unclaimed Hexes on the ground disappear whenever a Teleporter starts charging. Leaving a Hex behind does not preserve it as a permanent resource you can safely collect after the next Teleporter event.
Use the improved shrine in Soulbound Threshold differently
After the Anima Harvester is defeated in Soulbound Threshold, interacting with the altar again produces an improved Hallowed Shrine. Each player receives three Hexes during the fight's second phase, which can be exchanged there.
The improved shrine keeps the same basic Life and Death choice. Its advantage is the grade layout of Life's rewards: the first group contains three Medium options, and the second and third groups each contain three High options.
| Hexes drained | Improved shrine's selectable options | Items you can take |
|---|---|---|
| 1 | Three Medium | One |
| 2 | Three Medium and one High | Two |
| 3 | Three Medium and two High | Two |
| 4 | Three Medium and three High | Two |
| 5 | Three Medium and four High | Three |
| 6 | Three Medium and five High | Three |
| 7 | Three Medium and six High | Three |
Here, two Hexes are enough to reach a High option. At five or more, you can take one Medium pick and two High picks, because High options occupy two separate groups. Do not apply the regular shrine's single High-or-Max group limitation to this improved layout.
Check your objective before cleansing
If you are collecting Hexes for a challenge that requires holding them when a run ends, cleansing converts progress into rewards. The exchange can be useful for the build while working against the challenge's inventory condition.
Likewise, a severe permanent penalty can make immediate cleansing more valuable than waiting for a higher grade. The correct decision depends on whether the run can safely carry the remaining Hexes to another completed Teleporter.
Before activating a hand, check the eligible Hex count, the other players' plans, and whether your goal is current rewards or retained penalties. Those checks explain most apparent surprises: the shrine spends up to seven automatically, its hands are exclusive, and its grade thresholds determine the choices rather than the wording of its name.