
Hallowed Concepts has eighteen character-specific challenge skins split into three groups of six. Your selected Survivor determines the requirement: an early Anima Harvester defeat, an Echo of Providence defeat, or a completed run with at least ten Hexes still held. Completing one group's task as one Survivor unlocks that Survivor's appearance, rather than every skin in the group.
Enforcer and Acolyte also have separate Monsoon Mastery appearances. Keep those apart from the eighteen challenge skins: the expansion challenge and the Monsoon completion are different objectives. Check the exact skin challenge before choosing a route and difficulty.
Identify your Survivor's group before starting
| Challenge | Survivors | Required outcome |
|---|---|---|
| Dying to Meet You | Commando, Huntress, Acrid, Seeker, CHEF, Enforcer | Defeat the Anima Harvester's second phase while fewer than four Teleporters have been charged. |
| Memento Mori | Bandit, Engineer, Artificer, REX, Captain, Acolyte | Defeat the Echo of Providence in Terminal Lucidity. |
| Against All Odds | MUL-T, Mercenary, Loader, Railgunner, Void Fiend, False Son | Complete a run while holding at least ten Hexes. |
These skins require Hallowed Concepts. A character from another expansion also requires the access needed to select that Survivor. Shared expansion content in a cooperative lobby does not let a player without Hallowed Concepts permanently unlock its new content.
Select the actual Survivor whose appearance you want. For Acolyte's Memento Mori, unlock Acolyte first and then play her during the attempt. Rescuing her while playing another character is not the same challenge. Likewise, an Enforcer run cannot award Commando's appearance merely because both belong to Dying to Meet You.
Prepare the timed Dying to Meet You route early
The deadline is a Teleporter-count condition. The Anima Harvester's second phase must die while fewer than four Teleporters have been charged. It is not a universal number of minutes, and reaching the arena before the deadline is not enough if the required boss defeat happens too late.
Obtain the N'tormat and enough qualifying pages before entering a stage where the Shrine of Descent can be placed. In solo play, one qualifying page is sufficient. Team requirements are higher:
| Players | Qualifying pages held across the team |
|---|---|
| One | One |
| Two | Four |
| Three | Nine |
| Four | Sixteen |
Consumed pages count, but Shredded Pages do not. The shrine is placed at stage entry when its conditions are satisfied. Collecting a page later does not retroactively create it in the same stage, so an early trial reward can matter to meeting the skin's route deadline.
A Trial Gong in the Bazaar Between Time gives a route to a Winnowing and its rewards. Complete the objective and collect the book and page reward before returning to normal progression. The trial helps obtain prerequisites; it does not itself satisfy the early Anima Harvester condition.
Finish Soulbound Threshold before the fourth charge
Find and activate the Shrine of Descent before starting that stage's Teleporter. The confirmation that the Soul-binding trial awaits tells you the encounter is armed. Starting the Teleporter first prevents you from adding the shrine's trial afterward on the same stage.
Complete the normal charge and boss, then the overcharge and extra boss. Enter the Ritual Portal toward Soulbound Threshold. Inside, follow the ramps to the arena interaction and begin the ritual.
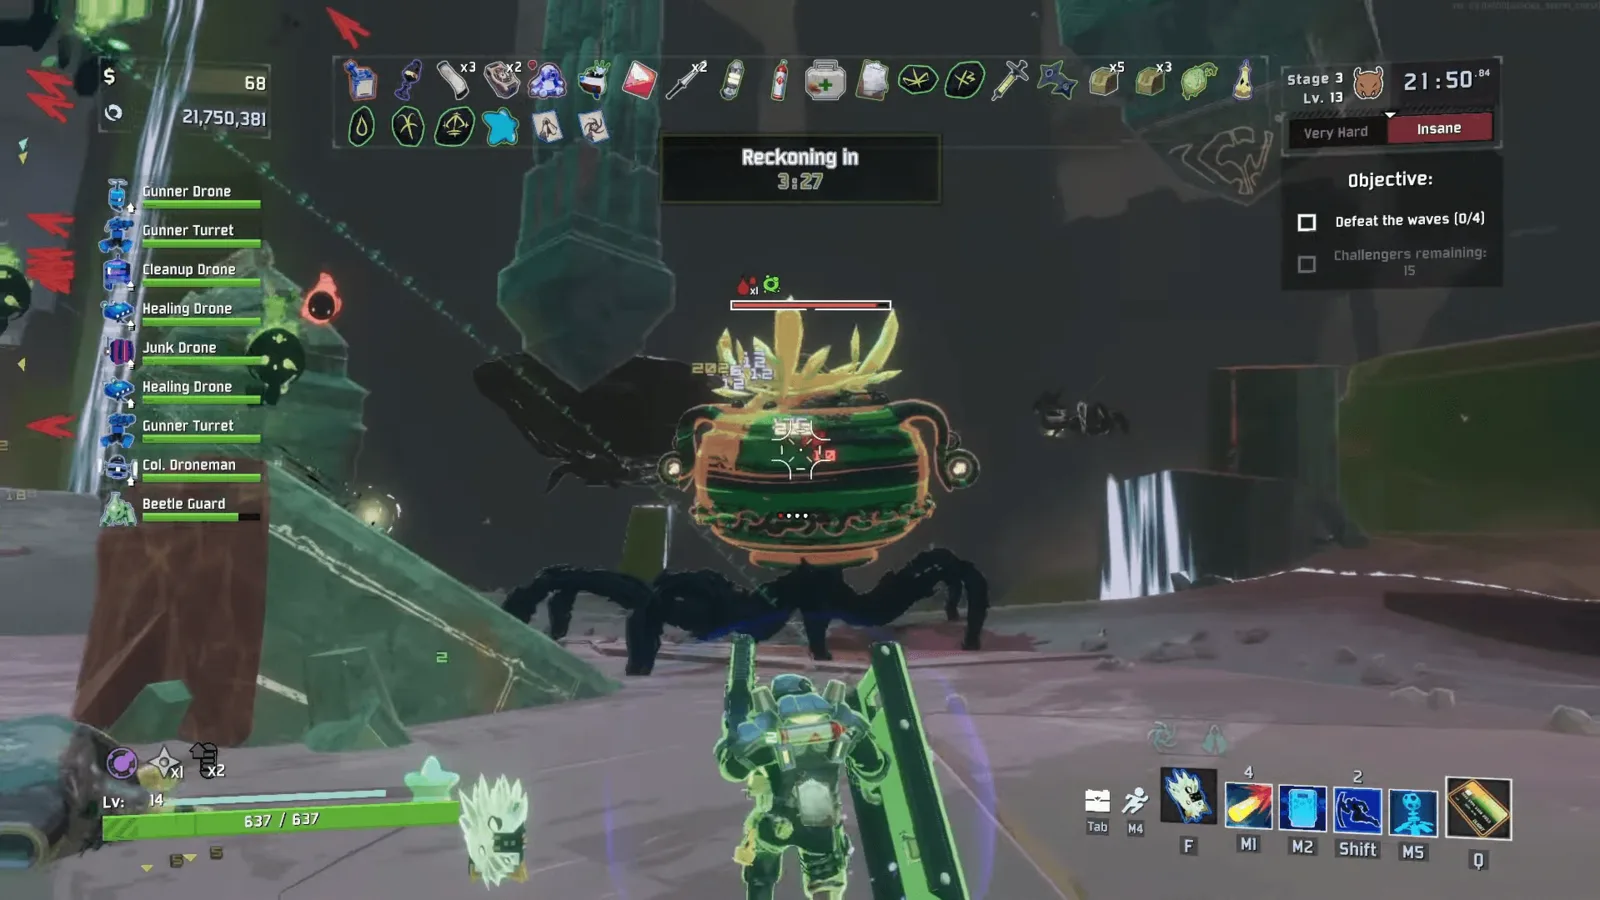
Clear the ritual before the timed family’s Teleporter deadline.
Clear the four waves and defeat the Anima Harvester through its second phase. A required enemy left alive can stall a wave, so search the surrounding platforms if progression pauses. Do not spend the remaining route opportunity repeating the console interaction while an enemy still needs to be defeated.
Check the challenge notification after the boss. Dying to Meet You is awarded by the required encounter result; you do not need to continue all the way to Mithrix just to finish this skin condition. If it remains locked, check the chosen Survivor and the number of charged Teleporters before assuming that any arena clear should count.
Obtain Reincarnation for Memento Mori
Memento Mori goes beyond the ordinary Soulbound Threshold boss encounter. The target is the Echo of Providence in Terminal Lucidity. Clearing the four waves and the Anima Harvester is preparation for that route, rather than the final skin requirement.
The post-arena door uses the Reincarnation page. A different page can help meet the Shrine of Descent entrance requirement but cannot replace Reincarnation at the door. Check the selected page and an available cast before committing to the route.
Pages come from relevant trials, Shrine of Compulsion objectives, and The Wake rewards. They are not a guarantee that every completed trial gives the exact page you need. Inspect the inventory rather than infer Reincarnation availability merely because the N'tormat is present.
Save a cast for the door. If you use Reincarnation for sacrifice travel earlier, consumed copies skip their normal regeneration at the next stage after that transition. An unused duplicate or a teammate's unused copy can therefore matter to the later door interaction.
Open the Veil of Memory and defeat the required boss
After defeating the Anima Harvester, approach the relevant door context in Soulbound Threshold. The N'tormat's anticipation message helps identify a valid interaction area. Select Reincarnation and use it there to open the Veil of Memory toward Terminal Lucidity.
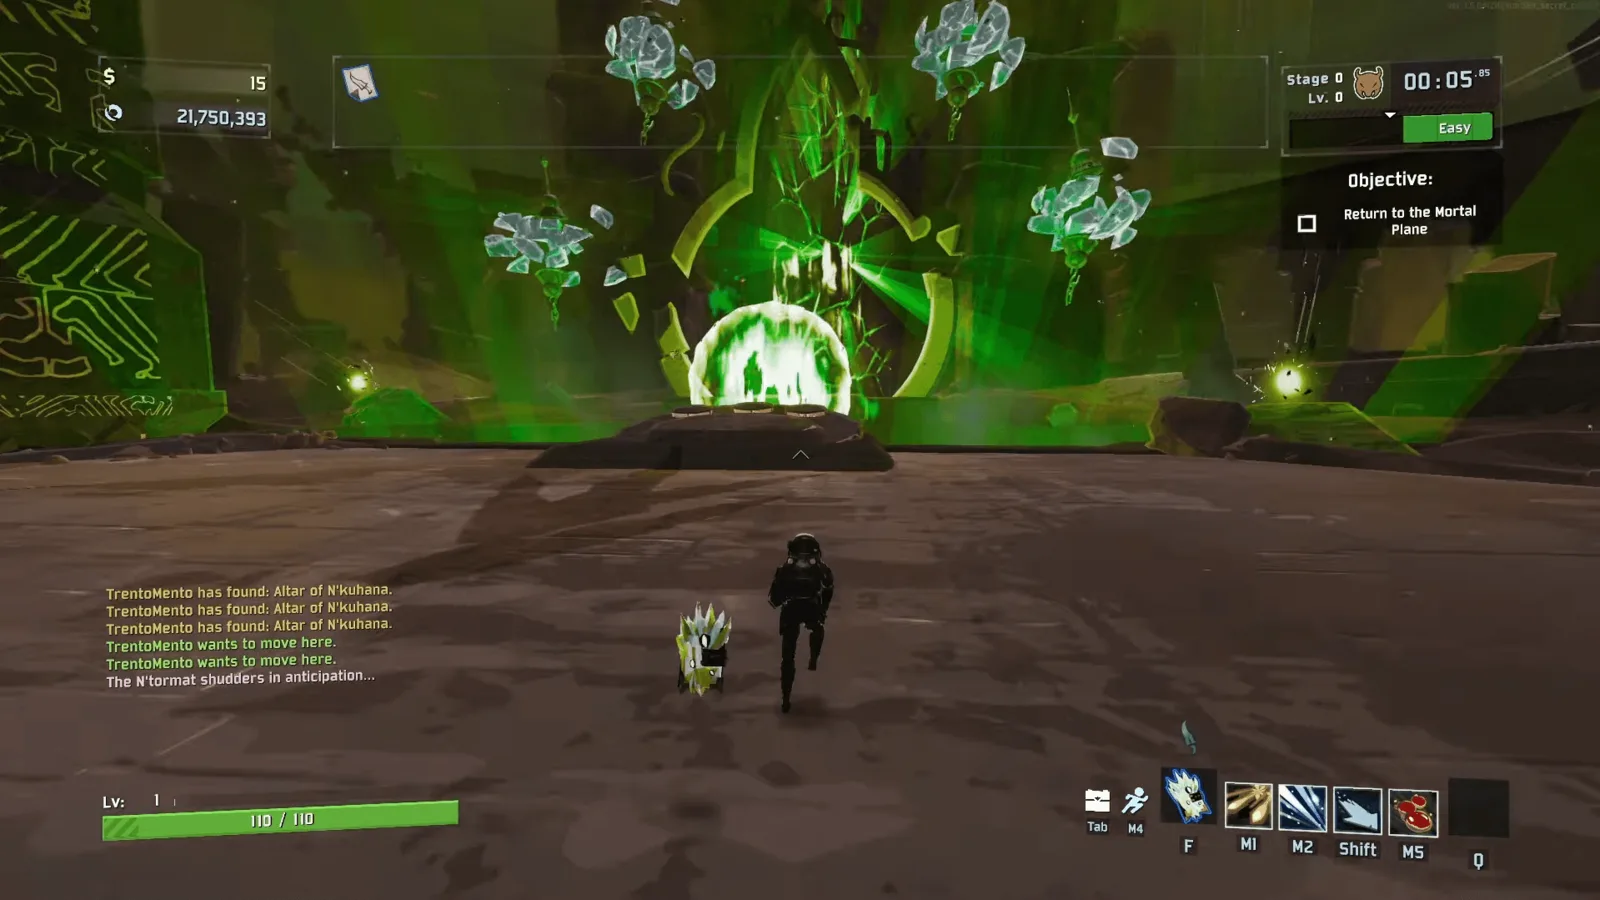
Read the local ritual cue before using Reincarnation.
This door interaction kills nobody. It is a special case, not the ordinary delayed execution effect of Reincarnation. Casting elsewhere can spend the page without producing the destination you intended, so identify the local context before pressing the key-item action.
You do not need a complete N'tormat to open the door. Owning all six usable pages other than Clarity changes the exit hint, while the door itself still uses Reincarnation whether or not that collection is complete. Do not delay the attempt solely to obtain every page when an available Reincarnation cast is the missing action.
Enter Terminal Lucidity and defeat the Echo of Providence as the appropriate Survivor. This family has no fourth-Teleporter deadline. You can prepare the run before pursuing the encounter rather than apply the timed group's urgency to every Hallowed skin.
Collect ten actual Hex stacks for Against All Odds
Against All Odds requires at least ten Hexes in your inventory when the run completes. Multiple copies of the same Hex count toward the total. You do not need ten different Hex types, and a prior maximum inventory count does not substitute for holding enough at the finish.
Concept Reliquaries supply Hexes. The Hand of Death at a Hallowed Shrine drops three random Hexes per player in the run, and the ground drops are shared. Check who picked them up in cooperative play before estimating your own count.
In solo play, three Hand of Death activations from zero provide nine Hexes. You still need another Hex to reach ten. The arithmetic is simple, but assuming that three shrines completed the requirement can waste a successful ending.
Hexes must be collected manually. Unclaimed ground Hexes disappear when a Teleporter begins charging, so settle the pickup decision before starting the event. The group generating several drops does not mean those drops are automatically in your own inventory.
Preserve the inventory condition through the ending
Do not cleanse below ten before the run completes. The Hand of Life automatically drains eligible Hexes up to seven per activation; you cannot ask it to remove just one inconvenient stack while preserving a carefully chosen total. An exchange can remove the condition you were carrying the penalties to satisfy.
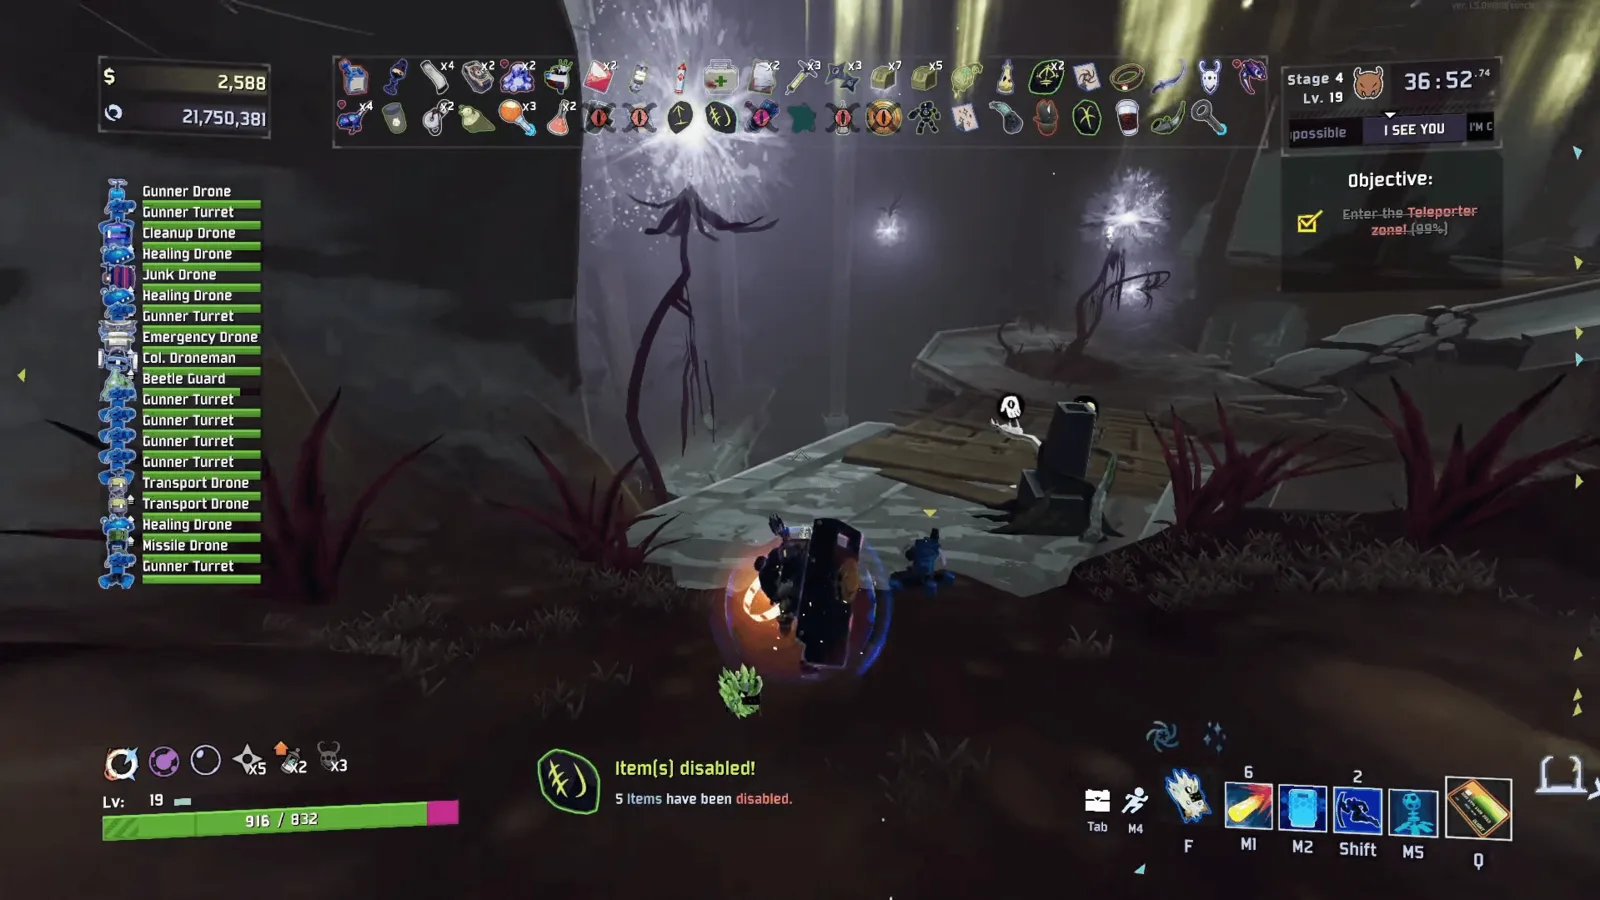
Hexes change the build’s available effects while you carry them.
Hexes impose actual drawbacks. The inventory can include penalties to movement, vision, healing, health, or item availability. Establish enough damage and recovery before collecting toward the target, then choose an ending the run can still complete under those conditions.
A Mithrix victory followed by the escape and an obliteration are supported ways to finish the challenge while holding the required Hexes. Decide which route you are pursuing before the penalties become severe. Reaching a final arena with ten is preparation; completing the ending with ten is the result you need.
If Hex of Loss is disrupting item effects, account for that state during combat rather than assume your earlier damage and defense remain fully available. The visible penalty in the inventory is part of the difficulty you chose to carry, not a beneficial Hallowed reward.
Keep newcomer Mastery separate from challenge skins
Enforcer: Mastery requires a completed run or obliteration on Monsoon as Enforcer. Acolyte: Mastery uses the same Monsoon condition as Acolyte, after you have unlocked her. Drizzle and Rainstorm finishes do not replace the Mastery difficulty requirement.
An early Anima Harvester clear as Enforcer supplies his Dying to Meet You condition, but it does not by itself complete a Monsoon ending. An Echo of Providence defeat as Acolyte supplies her Memento Mori condition, but it does not remove the separate Mastery requirement.
Choose which appearance you are pursuing before selecting the difficulty. You may have more than one goal in a run, but each still needs its own condition. Confirm the relevant notification rather than assume one cosmetic reward represents every appearance available to the newcomer.
Diagnose a locked skin from the missing condition
For Dying to Meet You, check Survivor identity and the charged-Teleporter count at the second-phase kill. For Memento Mori, check that you defeated the Echo of Providence rather than only the Anima Harvester. For Against All Odds, check the actual held Hex total at the completed ending.
Then check ownership and the appearance selection for the intended character. A teammate's expansion access can enable the encounters without providing your account's permanent unlock. A teammate's selected Survivor also does not change which appearance your own challenge corresponds to.
Use those conditions to repair the next attempt. The three families share some expansion systems, but their final outcomes remain different: an early arena kill, a hidden-boss kill, or a penalty-bearing finish. Planning around the correct one lets you verify the skin you intended without repeating an unrelated successful route.