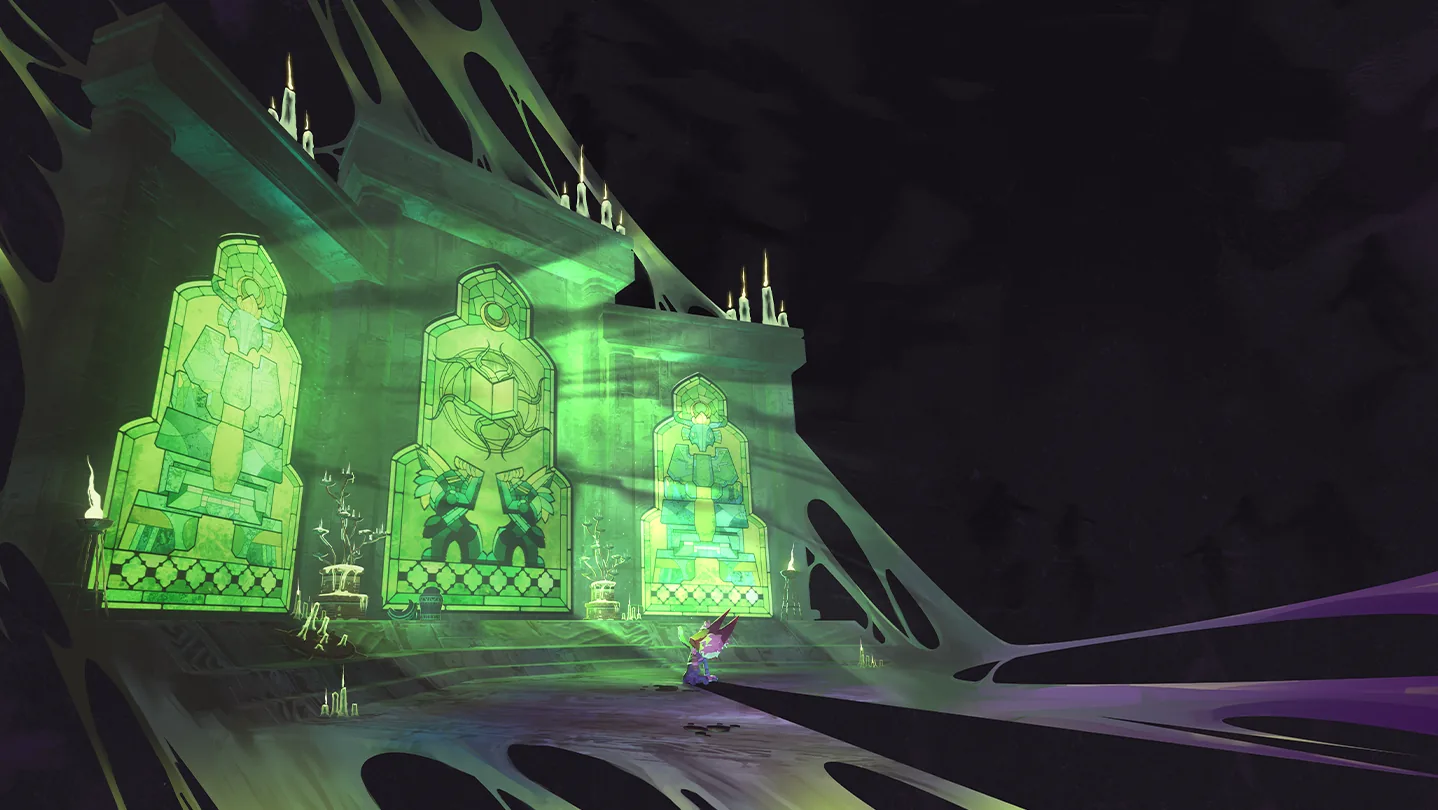
Enforcer's Impasse skin is tied to Dying to Meet You: defeat the Anima Harvester's second phase in Soulbound Threshold while fewer than four Teleporters have been charged in the run. His standard Mastery route instead requires completing a run or obliterating on Monsoon. These are different cosmetic goals with different endpoints.
Enforcer himself is available by default with Hallowed Concepts. You do not need to earn Impasse before selecting him, and unlocking an alternate combat skill does not automatically earn the skin. Start by choosing the cosmetic challenge you want, then keep the route and character aligned with that objective.
Confirm you are using the official Enforcer

The official survivor belongs to Hallowed Concepts. Older Enforcer materials can describe a community mod, whose models, unlocks, and skins are separate from the official expansion character.
Own and enable Hallowed Concepts, then choose Enforcer on the survivor screen. Shared expansion content in a cooperative lobby does not let a player without ownership select its new survivors or permanently unlock the expansion's cosmetics.
If Enforcer is unavailable, examine ownership and the expansion setting rather than trying to complete Dying to Meet You on another survivor. The cosmetic objective is character-specific, while his basic availability is a DLC entitlement.
| Cosmetic objective | Required action | Route priority |
|---|---|---|
| Impasse through Dying to Meet You | Defeat Harvester phase two with fewer than four charged Teleporters | Acquire access to Soulbound Threshold early |
| Mastery | Complete a run or obliterate on Monsoon | Finish a qualifying Monsoon run |
| Alternate skills | Complete their individual combat challenges | These change the loadout and are not skin requirements |
Skins are cosmetic. They do not increase Enforcer's armor, remove the movement penalty of his stance, or change the skills you selected. An appearance choice and a combat loadout can be configured independently.
Understand what the Impasse deadline measures
Dying to Meet You describes completing Soulbound Threshold before the fourth Teleporter event. The decisive check is the second-phase Harvester kill while fewer than four Teleporters have been charged in the run.
This is a progression deadline, not a published fixed number of minutes. You still want a practical early route, but completing an encounter at an arbitrary stopwatch time does not replace checking how many Teleporters have already been charged.
Count those completions as you move through ordinary stages. Entering Soulbound Threshold early is necessary for the route, but the skin is not awarded merely for entering. You must still clear the ritual and defeat both Harvester phases before the qualifying progression window is lost.
A late Soulbound Threshold visit can still provide the ritual's ordinary rewards. It can disable Catastrophes, offer the improved shrine, and open further routes. Those outcomes do not retroactively make the visit early enough for Impasse.
Acquire the N'tormat and a Page early
In solo play, the ordinary Soulbound Threshold route begins with the N'tormat and at least one Page. Cooperative teams require four total Pages for two players, nine for three, or sixteen for four. Consumed Pages count, but Shredded Pages do not. Meet the requirement before entering a new stage, because the shrine is placed when that stage's Teleporter is placed. Wake events and Trials provide the relevant progression, so focus the run on obtaining that prerequisite rather than completing many ordinary Teleporters first.
If you are relying on a Trial, a gong in the lower part of the Bazaar Between Time is one available approach. Complete the Trial and collect its rewards rather than treating entry into the Trial as sufficient proof that the N'tormat requirement is met.
Check your inventory afterward. A route attempt can feel as though it has progressed because you visited expansion content, while the item or Page needed for the next stage has not actually been collected.
Do not turn the skin attempt into a search for ten Hexes. That finishing condition belongs to Against All Odds, a different Hallowed Concepts skin group. Enforcer's Impasse objective is the early Soulbound Threshold completion.
Activate the Shrine of Descent before the Teleporter
The Shrine of Descent sets up the Soul-binding Teleporter event. Activate it before starting the Teleporter on the stage where you intend to use it.
After the modified event is completed, enter its Ritual Portal. The Ritual Portal enters Soulbound Threshold. The Teleporter normally becomes non-interactable after the trial, with Conduit Canyon as the exception; other available portals can lead elsewhere. For an early skin attempt, choosing the correct exit is part of the progression plan.
A Hallowed Shrine is a different interactable. It appears after qualifying Teleporter events and offers the Life or Death Hex exchange. Using that shrine does not stand in for activating the Shrine of Descent before the fight.
This distinction is useful when a shrine is visible but the expected portal never appears. Check the interactable's name and when you activated it, rather than assuming all Hallowed Concepts shrines start the same hidden encounter.
Use Enforcer's shield without losing control of the arena

Steel Protection gives Defensive Stance, blocking hits whose path reaches the shield before Enforcer's body. It is directional protection, not immunity to every attack around you.
In this stance, Enforcer moves at 32% of normal walking speed and cannot sprint. His jump becomes a short lunge, usable once per second and also available in mid-air. A skin attempt involving several encounters benefits from understanding those movement changes before entering the realm.
Turn toward the attacks you intend to block and leave the stance when you need to reposition. Reactivating Steel Protection exits with a shield bash, and appropriately timed blocked hits can be parried. Holding the shield indefinitely while enemies surround you does not solve attacks arriving from uncovered directions.
Shield Tackle supports direct movement and blocks from the front during its wind-up and dash. Its two charges recharge together. Holding the skill can consume an additional charge for a longer dash, so choose the distance deliberately rather than exhausting both whenever you press the button.
Rally Point supplies a different kind of support. It leaps and slams, then creates a holdout beacon that grants barrier to allies inside. Its placement also grants barrier immediately, and kills by allies standing in the zone provide more. Use it where the fight can benefit from the beacon, rather than assuming an empty zone continues generating barrier without kills.
Complete the four ritual challenges
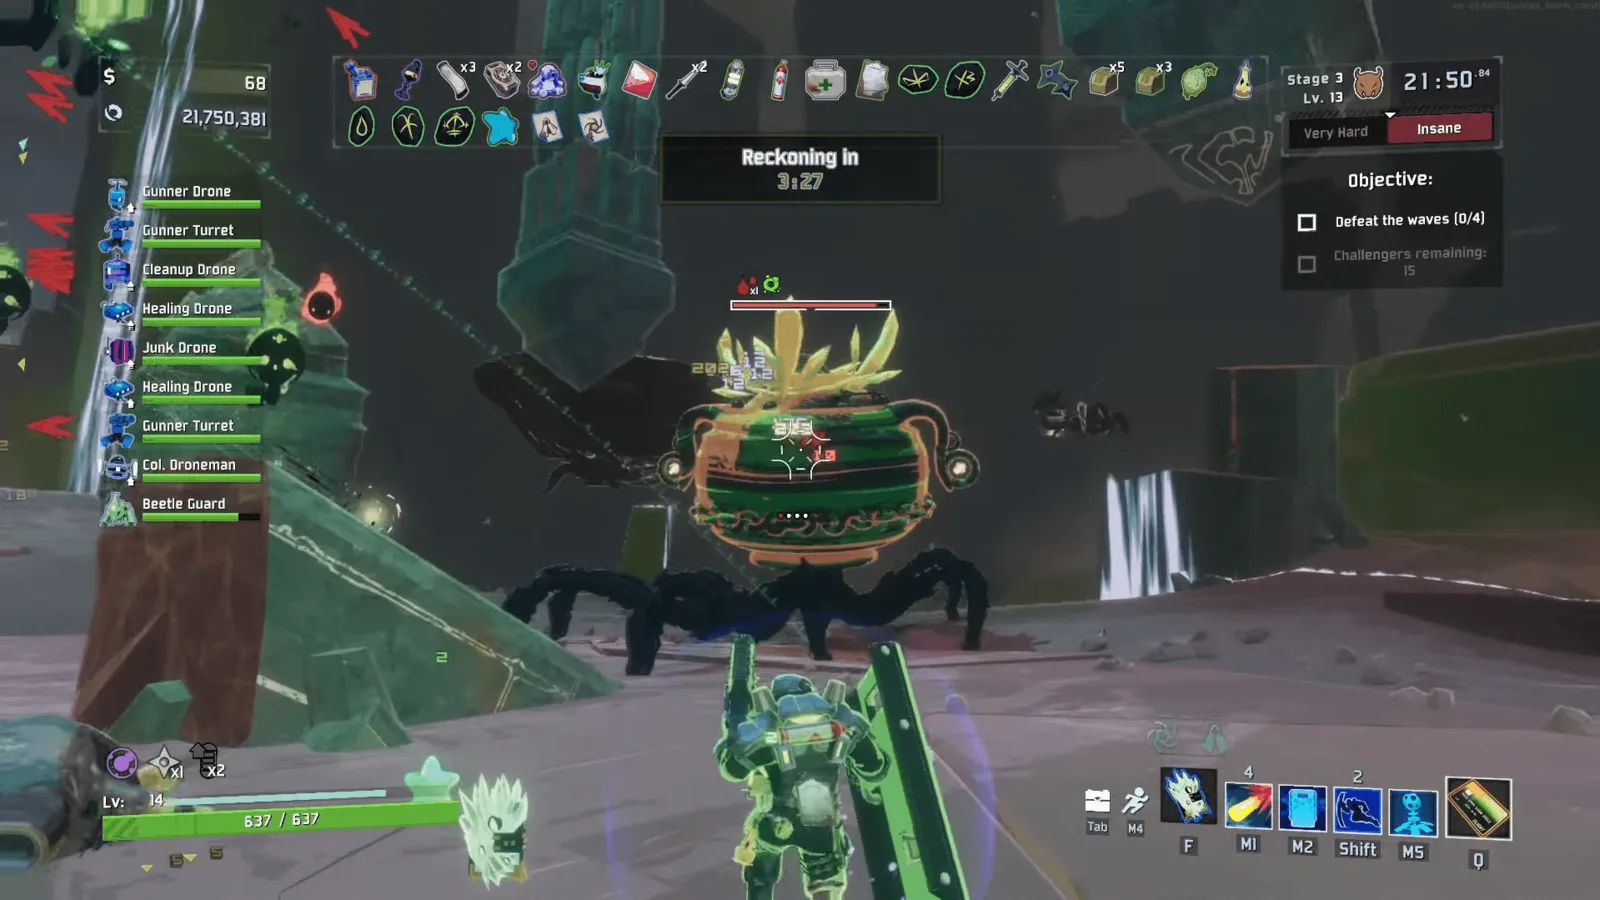
At Soulbound Threshold, interact with the Altar of N'kuhana to begin the ritual. Four challenge encounters precede the Anima Harvester.
The exact groups come from arena-specific pools and depend on enabled expansions. One run may feature a mixture of airborne monsters, large targets, and supporting enemies that differs from a previous attempt. Read the active objective and locate what remains instead of expecting the same sequence every time.
If the ritual stops progressing, search for required enemies on the outer platforms. A quiet central area does not necessarily mean the challenge is finished. A remaining target can keep the encounter active even after your main group of enemies has fallen.
Keep the progression deadline in mind without confusing it with a demand to rush every individual attack. Dying before the boss does not preserve a cosmetic completion. Choose movement and shield timing that let you finish the required encounters reliably.
Defeat both Harvester phases
The Harvester introduction follows the fourth challenge. During phase one, the ritual orb maintains champion monsters in the arena and the boss's soul-lock can restore 10% of its maximum health.
The first phase's death clears the other monsters, but a second phase appears ten seconds later. Do not assume that the first boss death was the skin's required completion.
When phase two appears, each player receives three random Hexes. Check the effects that were applied. Reduced healing, impaired vision, slippery movement, weaker repeated jumps, or reduced maximum health can change how you should approach the remainder of the fight.
The phase-two kill is the decisive Dying to Meet You event. It must occur with fewer than four charged Teleporters. Afterward, return to the altar and use Beseech the orb to complete the ritual and produce the reward interactions.
The improved Hallowed Shrine can remove eligible permanent Hexes gained during the fight. That is useful post-combat cleanup, but it is not the action that supplies the early phase-two kill condition. Avoid spending time searching for a cosmetic purchase at the shrine: the skin is a challenge reward.
Keep the Mastery attempt separate when appropriate
For Mastery, select Monsoon before starting and reach a qualifying run completion or obliteration. Individual stage clears and partial boss encounters do not satisfy the complete-run requirement.
This route does not require the early Soulbound Threshold deadline. If the immediate goal is the Mastery cosmetic, a route you can complete is more important than reproducing every step of an Impasse attempt.
Enforcer's high-speed landing passive, Big Man, can damage enemies on impact, but it does not protect him from fall damage. Do not introduce avoidable fall damage into a long Monsoon attempt simply because an impact blast is visible.
If you have unlocked alternate skills, account for their tradeoffs. Surge Protection ends after a limited window and consumes barrier and shield for its explosion; its reactivation does not perform Steel Protection's parry. Crash Point provides a direct aerial slam instead of Rally Point's holdout beacon. Familiarity with those changes matters more than treating every unlocked alternate as an automatic upgrade.
Check the cosmetic on the survivor screen
After an attempt, inspect Enforcer's skin selection and the relevant challenge. A loadout unlock, a survivor availability change, and a skin unlock are different results.
If Impasse remains locked, first check whether you played Enforcer, reached Soulbound Threshold, killed phase two, and stayed below four charged Teleporters. If Mastery remains locked, check Monsoon and the completed-run or obliteration outcome.
Once a skin is selectable, equip it independently of the combat skills. Your next run's defensive stance, utility, and special still come from the chosen loadout; the cosmetic records the challenge you completed and changes Enforcer's appearance.